
Build with Figma
NewEdit a template's design in Figma. Your agent reads the frame through the Figma MCP and the GetLayers MCP, then ships the live site.
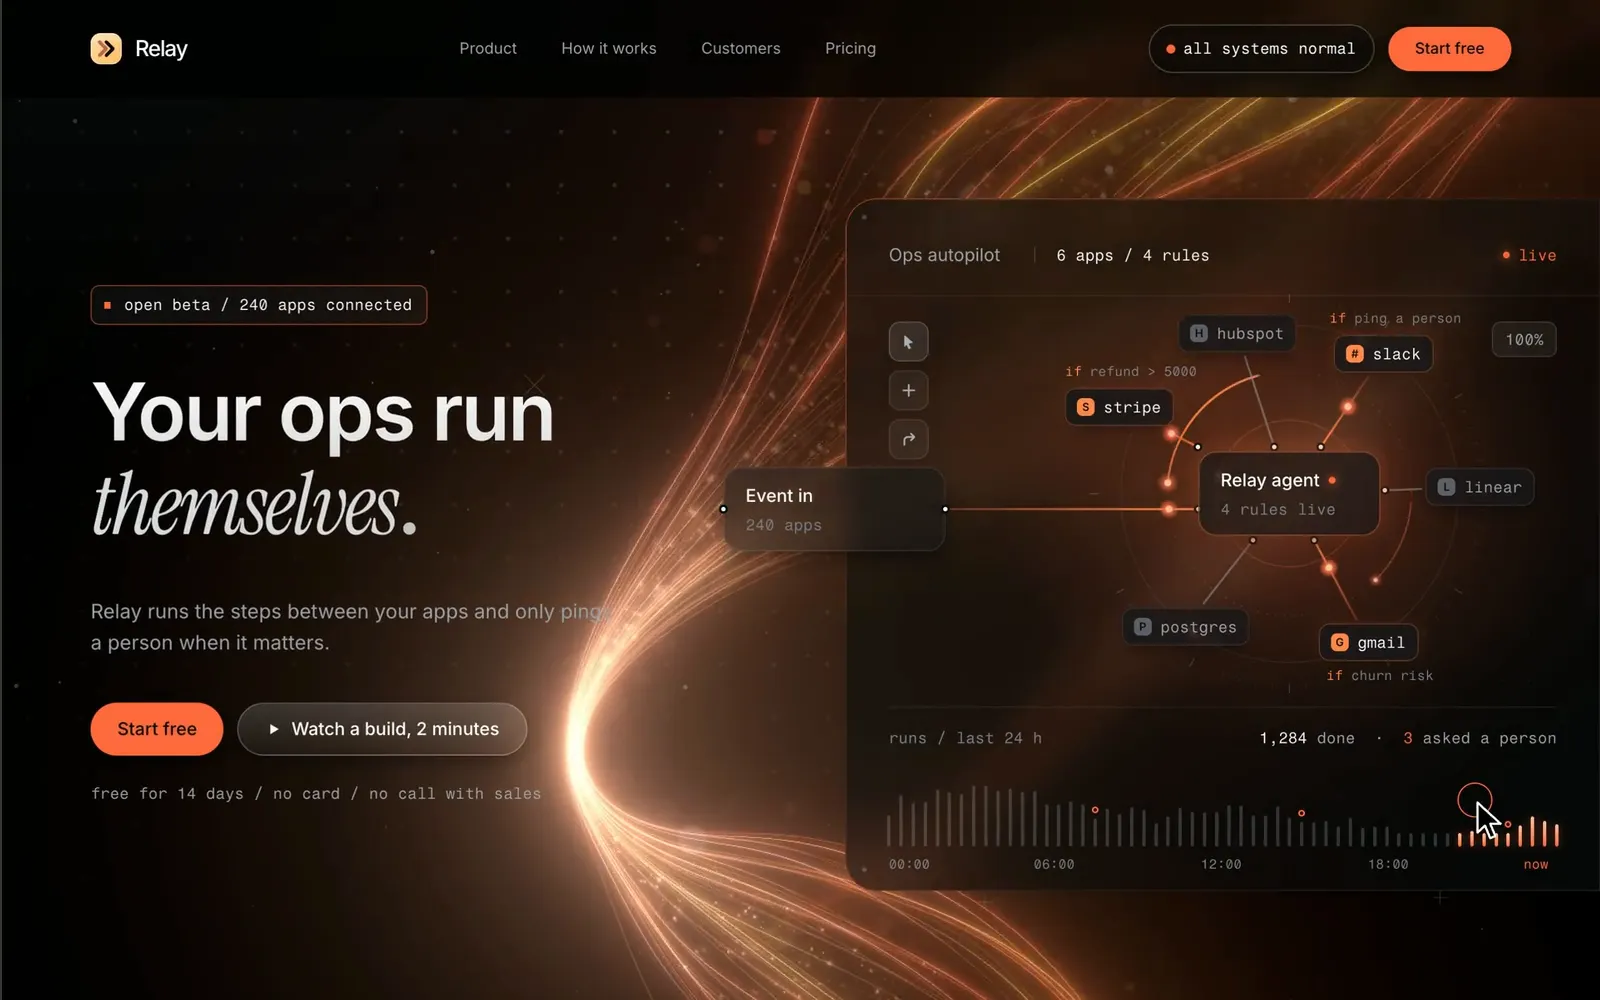
The GetLayers MCP connects your AI assistant to the GetLayers library and the free AI design tools. It builds sites (also from a template you edited in Figma), designs 3D scenes and gradients, adds motion sections, wires in video backgrounds and rebuilds looks you made in the tools. One connection, no API key. Works with Claude, Codex, Gemini, Kimi, DeepSeek and any other MCP client.
You'll get the exact steps.
Run these inside Claude Code.
/plugin marketplace add textura-agency/getlayers-plugin
/plugin install getlayers@getlayersA browser window opens. Sign in with your GetLayers account and approve access.
Ask in your own words. More detail, and reference images for scenes, give better results.
Build me a landing page for a premium AI analytics product — dark, cinematic, with a 3D hero.In claude.ai or the Claude desktop app: Settings → Connectors → Add custom connector, then paste this URL.
https://mcp.getlayers.ai/mcpConnect it, sign in with your GetLayers account and approve access.
Ask in your own words. More detail, and reference images for scenes, give better results.
Build me a landing page for a premium AI analytics product — dark, cinematic, with a 3D hero.Cursor → Settings → MCP → New MCP Server, then paste this into mcp.json.
{
  "mcpServers": {
    "getlayers": {
      "url": "https://mcp.getlayers.ai/mcp"
    }
  }
}A browser window opens. Sign in with your GetLayers account and approve access.
Ask in your own words. More detail, and reference images for scenes, give better results.
Build me a landing page for a premium AI analytics product — dark, cinematic, with a 3D hero.Run this in a terminal.
codex mcp add getlayers -- npx -y mcp-remote https://mcp.getlayers.ai/mcpA browser window opens. Sign in with your GetLayers account and approve access.
Ask in your own words. More detail, and reference images for scenes, give better results.
Build me a landing page for a premium AI analytics product — dark, cinematic, with a 3D hero.In ChatGPT, Windsurf, Cline or any other MCP client: add a custom connector or MCP server, then paste this URL.
https://mcp.getlayers.ai/mcpA browser window opens. Sign in with your GetLayers account and approve access.
Ask in your own words. More detail, and reference images for scenes, give better results.
Build me a landing page for a premium AI analytics product — dark, cinematic, with a 3D hero.Edit a template's design in Figma. Your agent reads the frame through the Figma MCP and the GetLayers MCP, then ships the live site.
Start from a template and reshape it, or compose one section by section, all in one style.
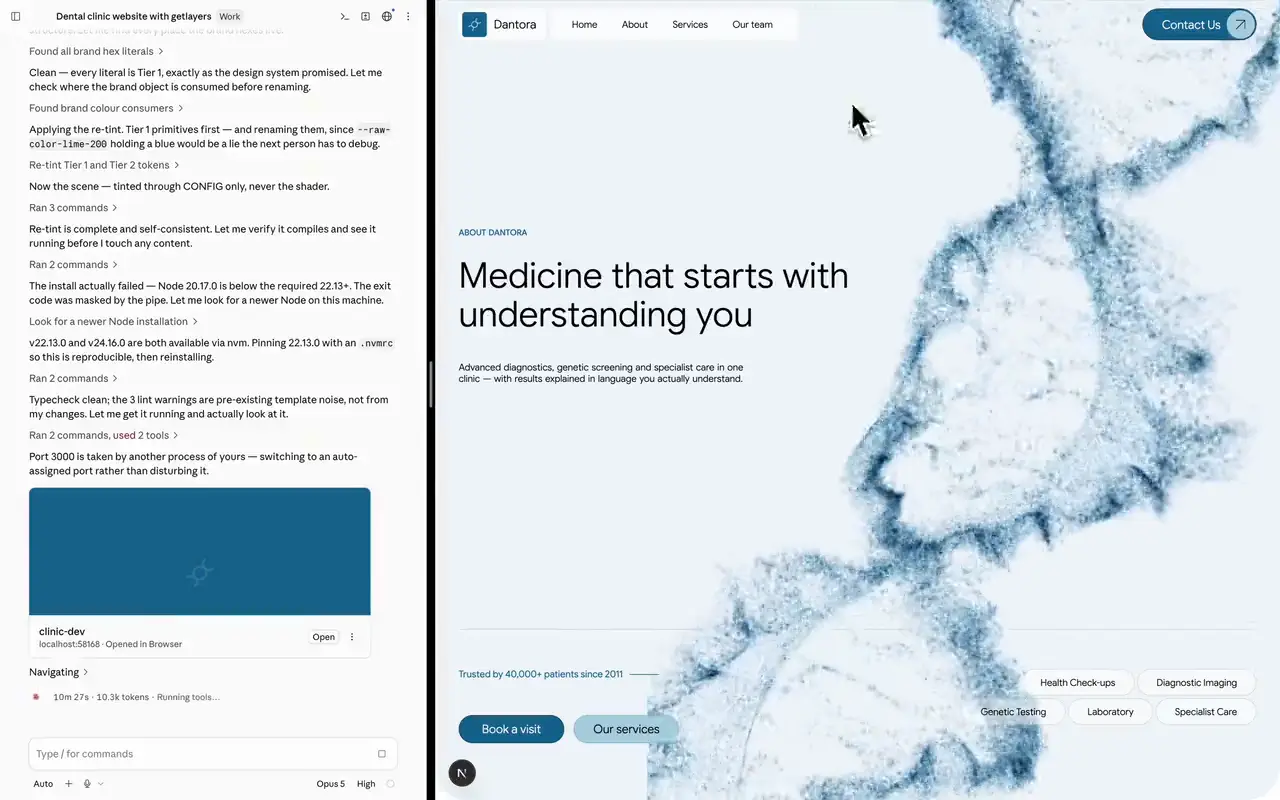
Describe the mood and motion, attach reference images, and get an original scene built on the library's techniques.
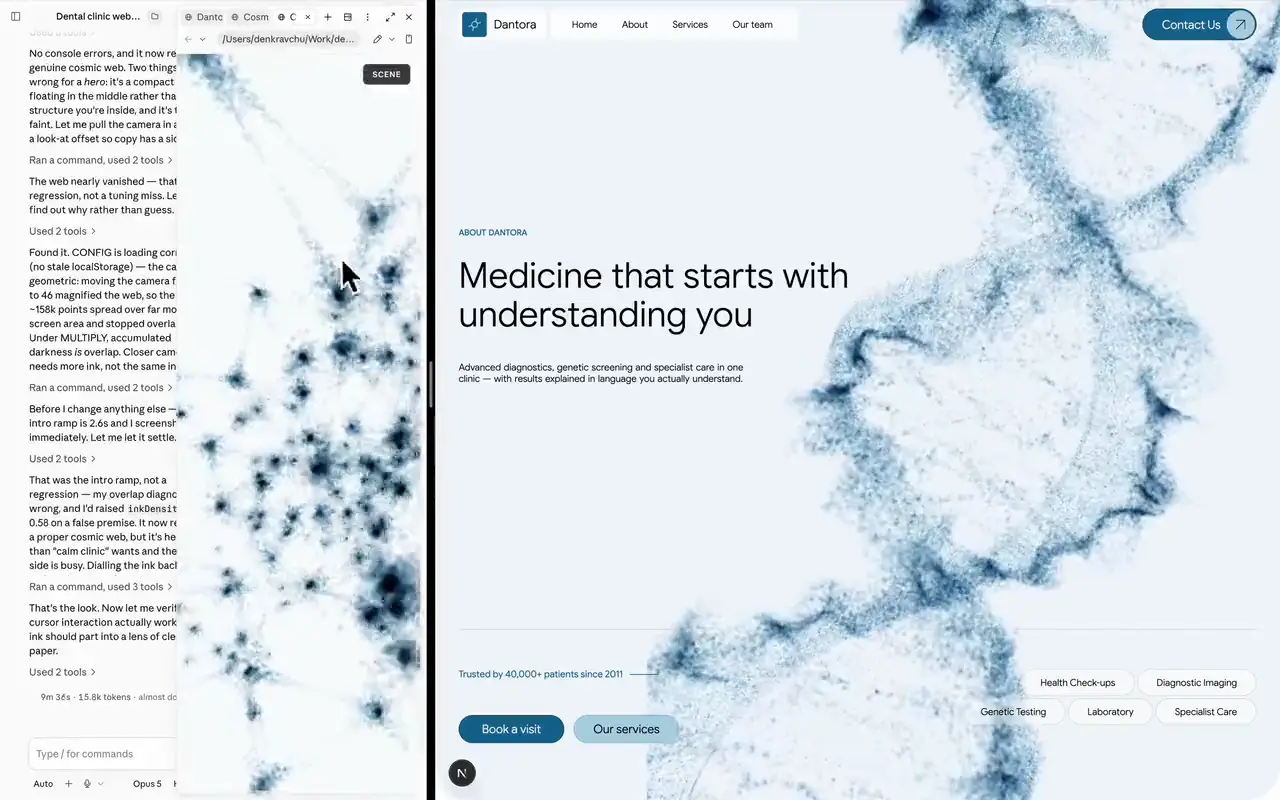
Ask for a scene, gradient, section or template and it goes into your build.
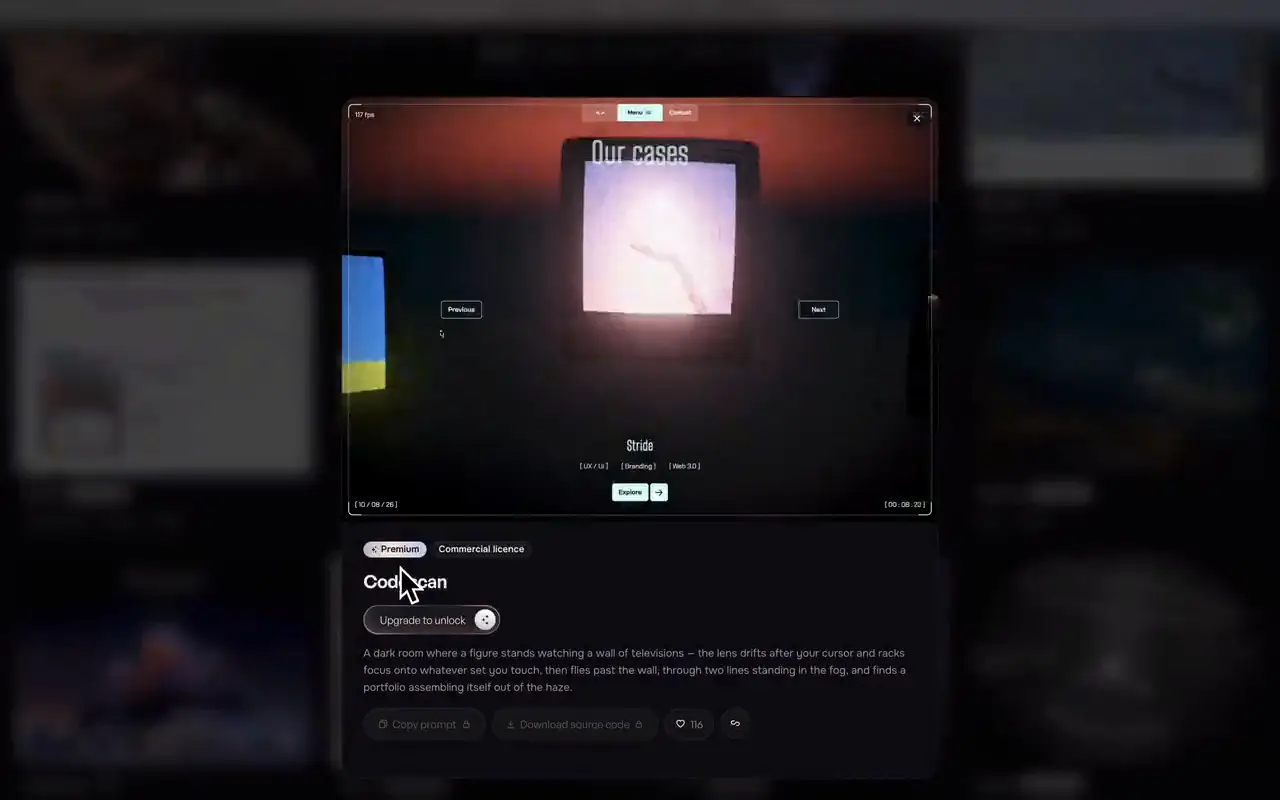
Describe the mood. It finds the closest background and wires it in full-bleed, tinted to your design.
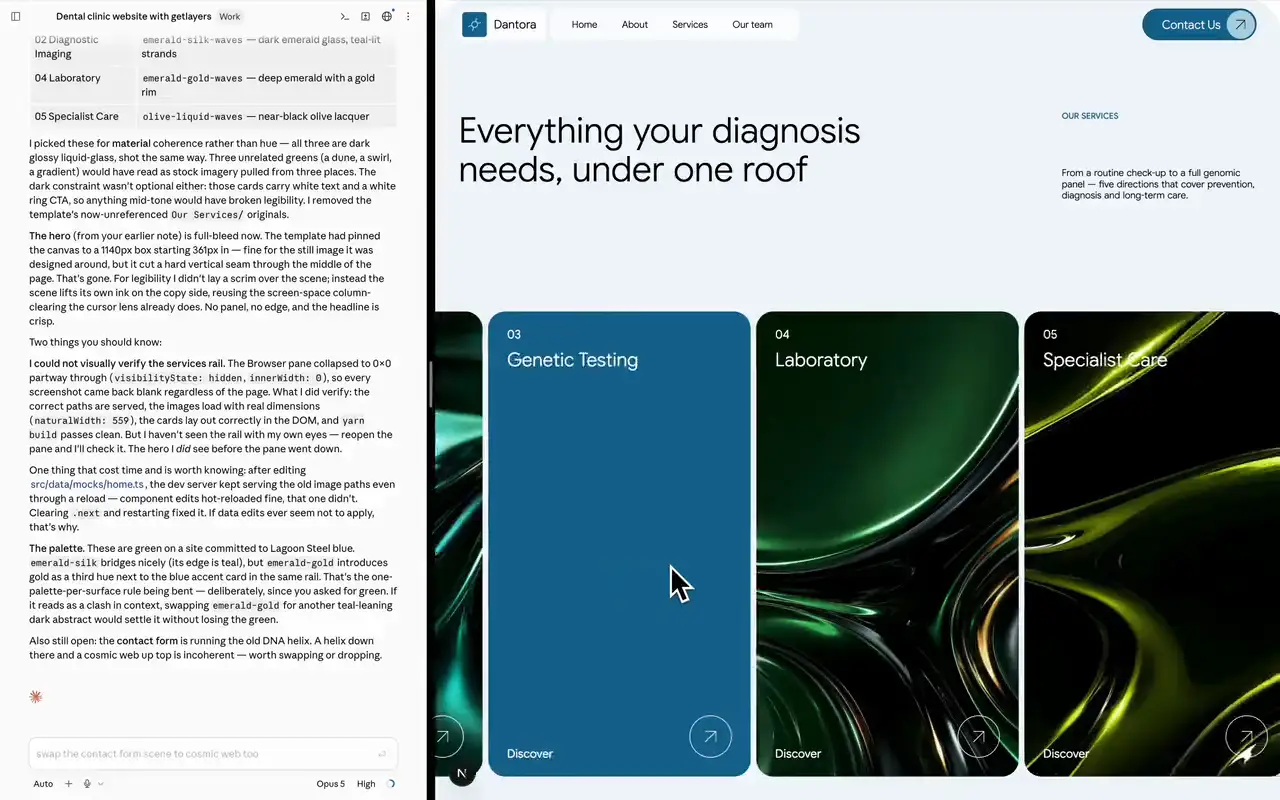
Point it at your repo. It reads your code, suggests where a scene, scroll motion or background fits, and pulls the pieces in.
Connect — Add the server once, sign in.
Ask — A site, a scene or a section, in your own words.
It builds — From the library, in your project, in your style.
Full Stack subscribers get a private Discord where we can support you.
Every MCP tool. You don't need to know them: just describe the task in plain words.
| Tool | What it does | Covers | Access |
|---|---|---|---|
| Start & plan | |||
Start a buildgetlayers_start | Loads the playbook: what it can build, the house guide and the library's vocabulary. |
| Unlimited |
Plan from a briefgetlayers_plan | Turns your brief into a style to commit to and the templates that fit it. |
| Unlimited |
Keep it coherentgetlayers_state_schema | The schema for getlayers.json, the file that keeps section 6 in the same style as section 1. |
| Unlimited |
| Find in the library | |||
Search in plain wordsgetlayers_search | “Wet neon hero”, “calm pricing page”: ranked by meaning, colour variants included. |
| Unlimited |
Browse by feelgetlayers_browse | Every layer of a kind, ranked by mood, tone, motion and density, each with a preview link. |
| Unlimited |
See everythinggetlayers_explore | The whole library as context, for a free-form build. |
| Unlimited |
| Build with it | |||
Pull the real thinggetlayers_materialize | The layer's source, tinted to your style, as a Next.js project or one HTML file. A whole template is one download. |
| Fair use |
Take one filegetlayers_source | A single component, hook or config from a template, instead of the whole project. |
| Fair use |
Build from Figmagetlayers_figma_match | Finds the template behind a frame you edited in Figma, so your agent rebuilds the site from its real source with your changes. |
| Unlimited |
Design a new 3D scenegetlayers_scene_lab | An original scene from your description and reference images, built on the library's techniques. |
| Fair use |
| Tools & favourites | |||
The AI design toolsgetlayers_tools | The 12 AI design tools that work through the MCP (all but Image Compressor) and their presets, so your agent can pick the closest starting point for your brief. |
| Unlimited |
Make a new effectgetlayers_tool_look | Tunes a tool's preset to your brief and returns the tool's exact build prompt. Nothing to save first. |
| Unlimited |
Your saved listgetlayers_my_favourites | Everything you saved on getlayers.ai: hearted layers, tuned gradients and scenes, and tool looks. |
| Unlimited |
Rebuild a saved lookgetlayers_reproduce | Rebuilds any saved item 1:1 in your project. A tool look arrives as its exact build prompt, with your uploaded files. |
| Partly fair use |
| Restyle anything | |||
Layout skeletonsgetlayers_compositions | Section layouts (hero, card grid, CTA, footer) so pages don't fall back to a generic stack. |
| Unlimited |
Re-tintgetlayers_palettes | Colour ramps that re-dress any scene, gradient or section to match your site. |
| Unlimited |
Re-typegetlayers_fonts | Production typefaces with the exact CSS and load link, paired display + body. |
| Unlimited |